Video guide
Text guide – if you prefer to read.
You can integrate 3rd party tracking tools using “Custom Scripts” module.
Scripts can be added to either a <head> or right before the closing </body> tag (see sections in the left menu).
Each tab contains sections that allow you to add your custom scripts.

Fields available in the sections for adding scripts can differ depending on the modules you enable.
The common ones are:
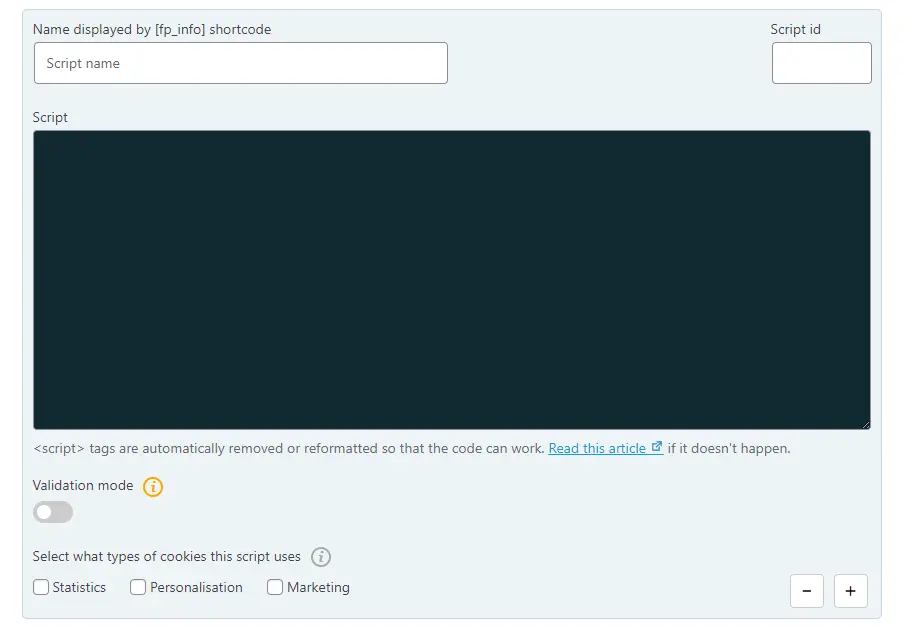
- Display name – this is where you give the script a name. This name is displayed by a [fp_info] shortcode which you can put in your privacy policy. (A reminder: this shortcode outputs a list of all the tracking tools you enabled in FP).
- Script id – the ID here is auto-generated but you can change it to whatever you want. Script ID is used in fpdata object.
- Script field – this is where you enter your modified script.
- Validation mode – enable this option if you need to validate the installation of your script. Remember to disable it afterwards. If you don’t do that your script will be triggered on every page load without exception (even for excluded users and administrators).
Automatic script modification
When you copy-paste scripts to WP Full Picture, you may notice that the <script> tags are either removed or changed into FP.getScript() function.
This modification is done automatically, so that WP Full Picture can conditionally enable/disable your script for specific users and locations.
For example this line:
<script src="https://example.com/script.js" async id="some_script"></script>will turn into this:
FP.getScript( 'https://example.com/script.js', false, { 'async' : true, 'id' : 'some_script' } );Adding variables and custom data to scripts
In addition to installing scripts on your page, WP Full Picture also lets you extend them with information like page titles, user role, visitors country, time on page, etc.

